How To Package Test Strips for Shipping: The Ultimate Safety & Seller’s Guide
⚡ Quick Answer
Selling unused diabetic supplies online is one of the easiest ways to declutter your medicine cabinet while helping others who need affordable care. But before you tape up that box and send it off, there’s one critical question every seller must understand — how to package test strips for shipping safely.
Why does it matter so much?
Because improper packaging doesn’t just risk losing money — it can also cause product damage, rejection, or delays in getting paid. Test strips and Continuous Glucose Monitoring (CGM) supplies are sensitive medical devices that must remain sealed, dry, and undamaged to retain value.
This blog will guide you step-by-step through the safest, most professional way to package test strips for shipping, while following Cash 4 Diabetic Strips’ verified process — a trusted platform for selling diabetic supplies in the U.S.
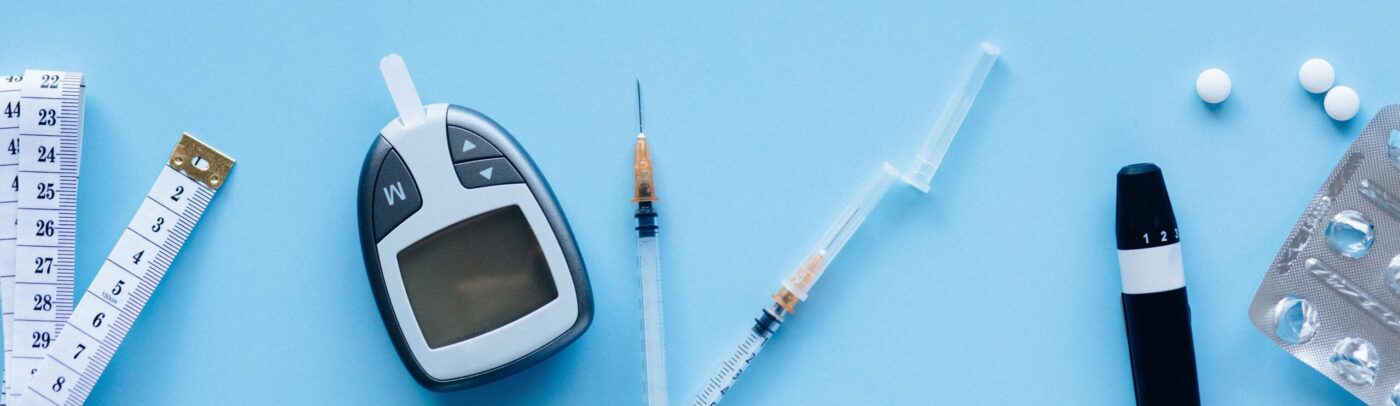
Understanding the Basics: What Makes Test Strips Delicate
Before we get into the how, let’s talk about the why.
What’s Inside a Test Strip Box?
Each box contains small paper- or enzyme-based strips that detect glucose levels when blood or interstitial fluid is applied. These materials can be damaged by:
- Moisture exposure
- Extreme temperatures
- Crushed or punctured boxes
- Sunlight or chemical exposure
If even one of these factors occurs during shipping, your strips might lose accuracy — and the buyer may have to reject or downgrade your payment.
That’s Why Packaging Is Critical
Proper packaging protects your investment and ensures your shipment:
- Arrives intact and safe
- Meets inspection standards
- Is processed and paid quickly (typically within one business day after processing)
Step-by-Step: How To Package Test Strips for Shipping
Let’s break down the full process — from preparing your order to sealing the box.
Step 1: Gather the Right Supplies
Before you begin, collect these materials:
- A sturdy cardboard box (avoid thin envelopes or padded mailers)
- Bubble wrap or kraft paper for cushioning
- Packing tape (clear, strong adhesive)
- Plastic bag (optional) for moisture protection
- Prepaid shipping label (provided after checkout)
Pro Tip: Avoid using reused or flimsy boxes — they can collapse under weight during transit and damage your test strip packaging.
Step 2: Inspect Your Test Strips
Every box you plan to sell must be:
- Unopened and sealed
- Free from damage, dents, or tears
- Clearly labeled with expiration dates
Do NOT:
- Remove or peel pharmacy stickers (this can tear the box).
- Write or draw on the packaging.
- Attempt to reseal previously opened boxes.
If a box shows light wear (like a small crease), it may get rejected.
Reminder: Expired or opened products are not accepted unless clearly listed as part of an exception.
Step 3: Calculate Your Date Range
Before adding products to your shipment, you need to know which expiration category your test strips fall into.
Here’s how to do it:
- Locate the expiration date on the box.
- Count the current month as month 0.
- Count forward until you reach the expiration month.
- The number you reach = the months out in expiration.
This process helps the review team calculate fair pricing and ensures your items meet their freshness standards.
Step 4: Place Your Online Order
Once your products are sorted:
- Go to the Sell Supplies page.
- Select the product brand and type.
- Enter the quantity and date range (based on your calculation).
- Add items to your cart and proceed to checkout.
- Fill in your payment and shipping details, then click Get Paid!
After checkout, you’ll receive:
- An order confirmation page
- A prepaid USPS shipping label
- Your order number
Keep these details for your records — they ensure smooth tracking and fast payment.
Step 5: Prepare the Box
Now that your order is in, it’s time to package your supplies securely.
Follow this proven method used by experienced sellers:
- Line the bottom of the shipping box with bubble wrap or kraft paper.
- Stack your test strips carefully, keeping boxes upright and snug.
- If sending multiple items, group them by brand or expiration date.
- Add another layer of cushioning on top.
- If the box isn’t completely full, fill gaps with paper or air pillows to prevent shifting.
Insider Tip: Use clean, dry packing materials only — no newspaper ink or foam peanuts that may create dust or residue.
Step 6: Add Your Label and Seal Properly
Once packed, securely close the box with heavy-duty tape. Use at least two strips across the top and bottom seams.
Attach your prepaid shipping label clearly on the largest flat surface.
Ensure:
- The barcode is visible (not folded).
- Old labels or addresses are removed or covered.
- The package is dry and unmarked.
Do not use decorative tape or paper covering; it can confuse USPS scanners or delay delivery.
Step 7: Ship Within 7 Days
Orders must be shipped within 7 days of placing the order.
If the order isn’t shipped within 20 days, your label will automatically expire, and you’ll need to place a new order with updated pricing.
You can drop off your package at:
- Any USPS Post Office
- USPS drop boxes
- Or request a pickup at home via USPS.com
Once your package is received, payment is processed within one business day — helping you avoid long payment delays.
Shipping Guidelines for Diabetic Supplies
Many first-time sellers wonder which diabetic supplies buyers accept?
Yes — if they are over-the-counter items and sealed.
Here’s what you should know:
Commonly Accepted Products:
- Unopened, unexpired diabetic test strips
- CGM sensors (Dexcom, FreeStyle Libre, etc.)
- Insulin pump cartridges or tubing (if sealed and OTC)
Products Typically Not Accepted:
- Medicare/Medicaid-labeled items
- Used, opened, or tampered boxes
- Products marked “Government Payee” or “For DME Beneficiaries Only”
Tip: Always check the label before sending. If your box says “Medicare/Medicaid,” it cannot be accepted — regardless of expiration date.
Why Following the Rules Protects You
Proper packaging isn’t just about neatness; it ensures:
- You Get Full Payment – Boxes that arrive crushed or torn may be downgraded up to 50%.
- Your Shipment Passes Inspection – Damaged or unlabeled items are automatically discarded.
- You Help Avoid Rejections – Products labeled for Medicare, Medicaid, or other government-funded programs are typically not accepted for purchase.
- You Build Trust as a Seller – Consistent, high-quality shipments can lead to faster processing and priority handling.
How Packaging Impacts Payouts
Payout is based on both product condition and expiration timeline. Here’s how packaging affects those two factors:
| Condition at Arrival | Payment Impact | Reason |
|---|---|---|
| Mint Condition | Full payout | Meets resale quality |
| Slightly Crushed Corners | -10% | Still usable, but reduced retail value |
| Torn or Marked Box | -25% | Deemed cosmetically damaged |
| Opened or Broken Seal | Rejected | Safety risk |
| Expired or Missing Label | Rejected | Regulatory violation |
Want the highest payout? Ship your boxes as if they were going straight to a retail shelf.
Common Packaging Mistakes to Avoid
Even experienced sellers can make costly mistakes. Here are the most common — and how to prevent them:
1. Using padded envelopes
– Always use rigid boxes; soft mailers lead to crushed packaging.
2. Peeling off pharmacy labels
– This often tears the box, causing payment deductions.
3. Waiting too long to ship
– After 7 days, your pricing may no longer be valid.
4. Overfilling boxes
– Overstuffing leads to bent corners and rejected items.
5. Using wet or recycled boxes
– These weaken structural integrity and risk moisture exposure.
Shipping expired or Medicare-marked items
– May not meet the buyer’s product eligibility requirements and are typically not accepted for purchase.
Payment Methods: Fast, Flexible, and Transparent
Once your shipment is received and approved, you’ll be paid within 1 business day.
Accepted payment options include:
- ACH bank transfer
- Business check
- PayPal
Payments are prompt and reliable — and the company has built a reputation for reliable payouts.
Note: ACH bank transfers are processed electronically for fast delivery.
Bonus Tip: Packaging for Multiple Orders
If you’re selling regularly, keep a small “shipping station” ready at home.
Suggested setup:
- Stack of small USPS Priority Mail boxes
- Roll of bubble wrap or kraft paper
- Label printer
- Envelope of previous receipts for tracking
This not only saves time but helps maintain professionalism in your transactions.
Frequently Asked Questions
Can You Ship Diabetic Test Strips?
Yes. Unopened, unexpired diabetic test strips can typically be shipped to buyers if they meet the buyer’s product eligibility requirements. Products labeled for Medicare, Medicaid, or other government-funded programs are generally not accepted for purchase.
Can I use my own shipping label?
Yes you can, but each of our shipping labels is linked to a specific order. Using the correct label ensures that your order can be properly tracked and processed.
What happens if my box gets damaged in shipping?
How soon do I get paid after shipping?
Do I need to remove personal information from the box?
Final Thoughts: Pack Smart, Ship Confidently
Selling test strips shouldn’t be complicated or stressful — and with Cash 4 Diabetic Strips, it isn’t.
When you follow the steps outlined in this guide, you’re doing more than shipping a box — you’re ensuring:
- Maximum payout
- Fast processing
- Safe, secure delivery
By packaging your test strips correctly, you protect your products, your payment, and your reputation as a trusted seller.
Ready to ship?
Visit Cash 4 Diabetic Strips to place your order, print your label, and get paid within 1 business day after your package is processed.